【Java】SpringBoot2.6.4整合Swagger3.0.0填坑
✨
AI总结摘要
这篇文章是关于SpringBoot 2.6.4整合Swagger 3.0.0的教程,主要介绍了整合过程中可能遇到的问题及相应的解决方法。首先,文章提到了仓库配置,包括添加Swagger依赖和解决Maven同步问题的方法。接着,文章指出了空指针异常错误的问题,并给出了解决方案,即在application.yml中添加相关配置。然后,文章强调了在使用Swagger 3.0.0时,需要在Application启动项中使用@EnableOpenApi注解,而不是@EnableSwagger2。此外,文章还提到了Swagger页面访问地址的变化。最后,文章展示了整合完成后的效果图。
AI Model: Baidu-ERNIE
Update At: 2024-10-23 20:36:07
【Java】SpringBoot2.6.4整合Swagger3.0.0填坑
仓库配置
使用如下依赖
 <!--swagger-ui-->
<dependency>
    <groupId>io.springfox</groupId>
    <artifactId>springfox-boot-starter</artifactId>
    <version>3.0.0</version>
</dependency>
如果一直爆红,maven同步不了,就去本地maven仓库将io软件包中的springfox给删了,重新同步
空指针异常错误
自从SpringBoot2.6.0开始,Spring默认路径匹配策略从ANT_PATH_MATCHER改成PATH_PATTERN_PARSER
解决方式就是在在application.yml中添加
spring:
  mvc:
    pathmatch:
      matching-strategy: ant_path_matcher
在application中使用注解@EnableOpenApi
Swagger3.0.0只需要使用``@EnableOpenApi注解在Applicatio启动项即可,无需再使用@EnableSwagger2`
@EnableOpenApi
@SpringBootApplication
public class BlogApplication {
    public static void main(String[] args) {
        SpringApplication.run(BlogApplication.class,args);
    }
}
Swagger的index地址
Swagger3.0.0之后,默认的页面从 http://localhost:8080/swagger-ui.html 的变为http://localhost:8080/swagger-ui/index.html
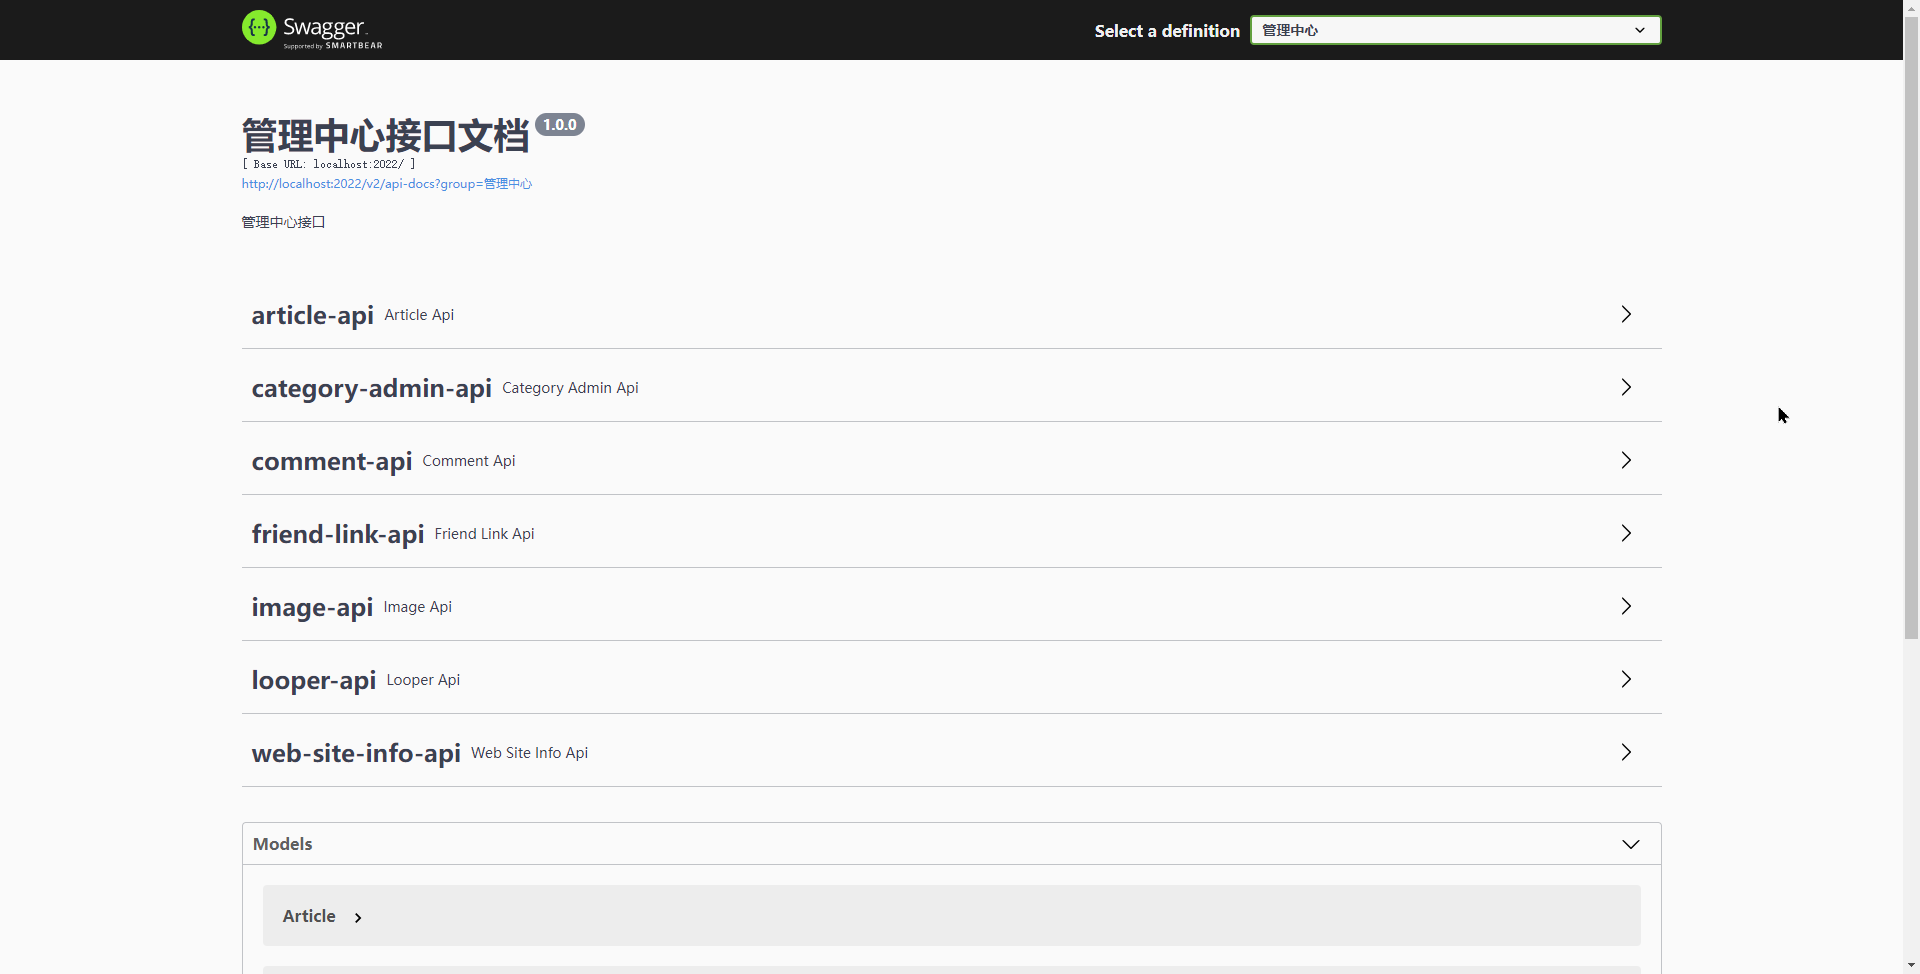
效果
填完坑之后,最终效果如下:
Thanks for reading :: Enf of this article :: Read other posts
Comment Below